| Firestarter | |||||||||||||||||||||
|---|---|---|---|---|---|---|---|---|---|---|---|---|---|---|---|---|---|---|---|---|---|
| Heist Info | |||||||||||||||||||||
| Contractor | Hector | ||||||||||||||||||||
| Contract Days | 3 | ||||||||||||||||||||
| Loud / Stealth | ✔ / ✔ | ||||||||||||||||||||
| Stealth bonus | 5-30% | ||||||||||||||||||||
| Loot | Money Coke Gold Assault Rifles Goat | ||||||||||||||||||||
| Base experience (XP) (day 1) | 8,000 (completion weapon destroyed) 10,000 (completion no weapons destroyed) +6,000 (securing all weapons) | ||||||||||||||||||||
| Experience (day 2) | 6,000 (escape within 3 minutes) 12,000 (stealth escape after 3 minutes) 10,000 (loud escape after 3 minutes) +1,000 (per additional loot bag) | ||||||||||||||||||||
| Experience (day 3) | 16,000 (completion) +500 (per secured bag) | ||||||||||||||||||||
| |||||||||||||||||||||
| Other | |||||||||||||||||||||
| Internal name | firestarter
| ||||||||||||||||||||
| Achievement(s) | |||||||||||||||||||||
| Trophies | |||||||||||||||||||||
| v·d·e | |||||||||||||||||||||
- "We're hitting the Mendoza cartel hard for money, information and blood. You're of great use to us now."
- —Hector offering the heist.
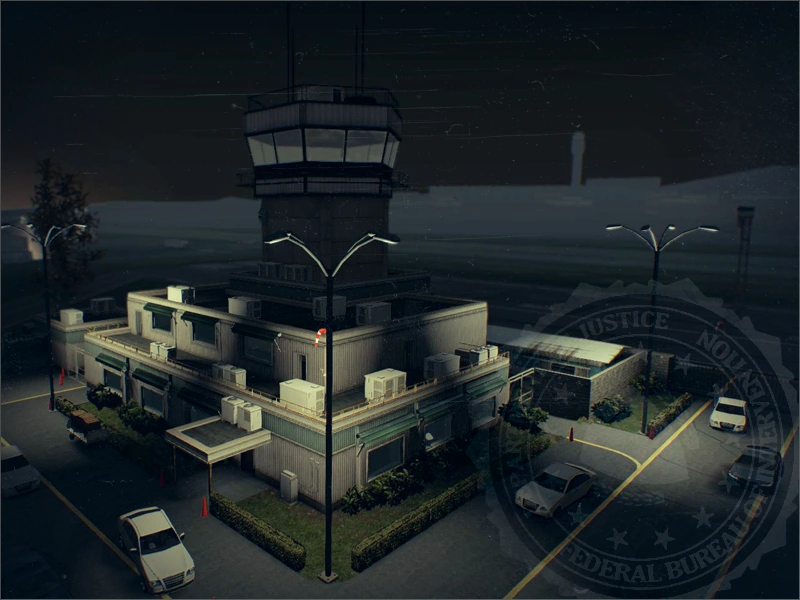
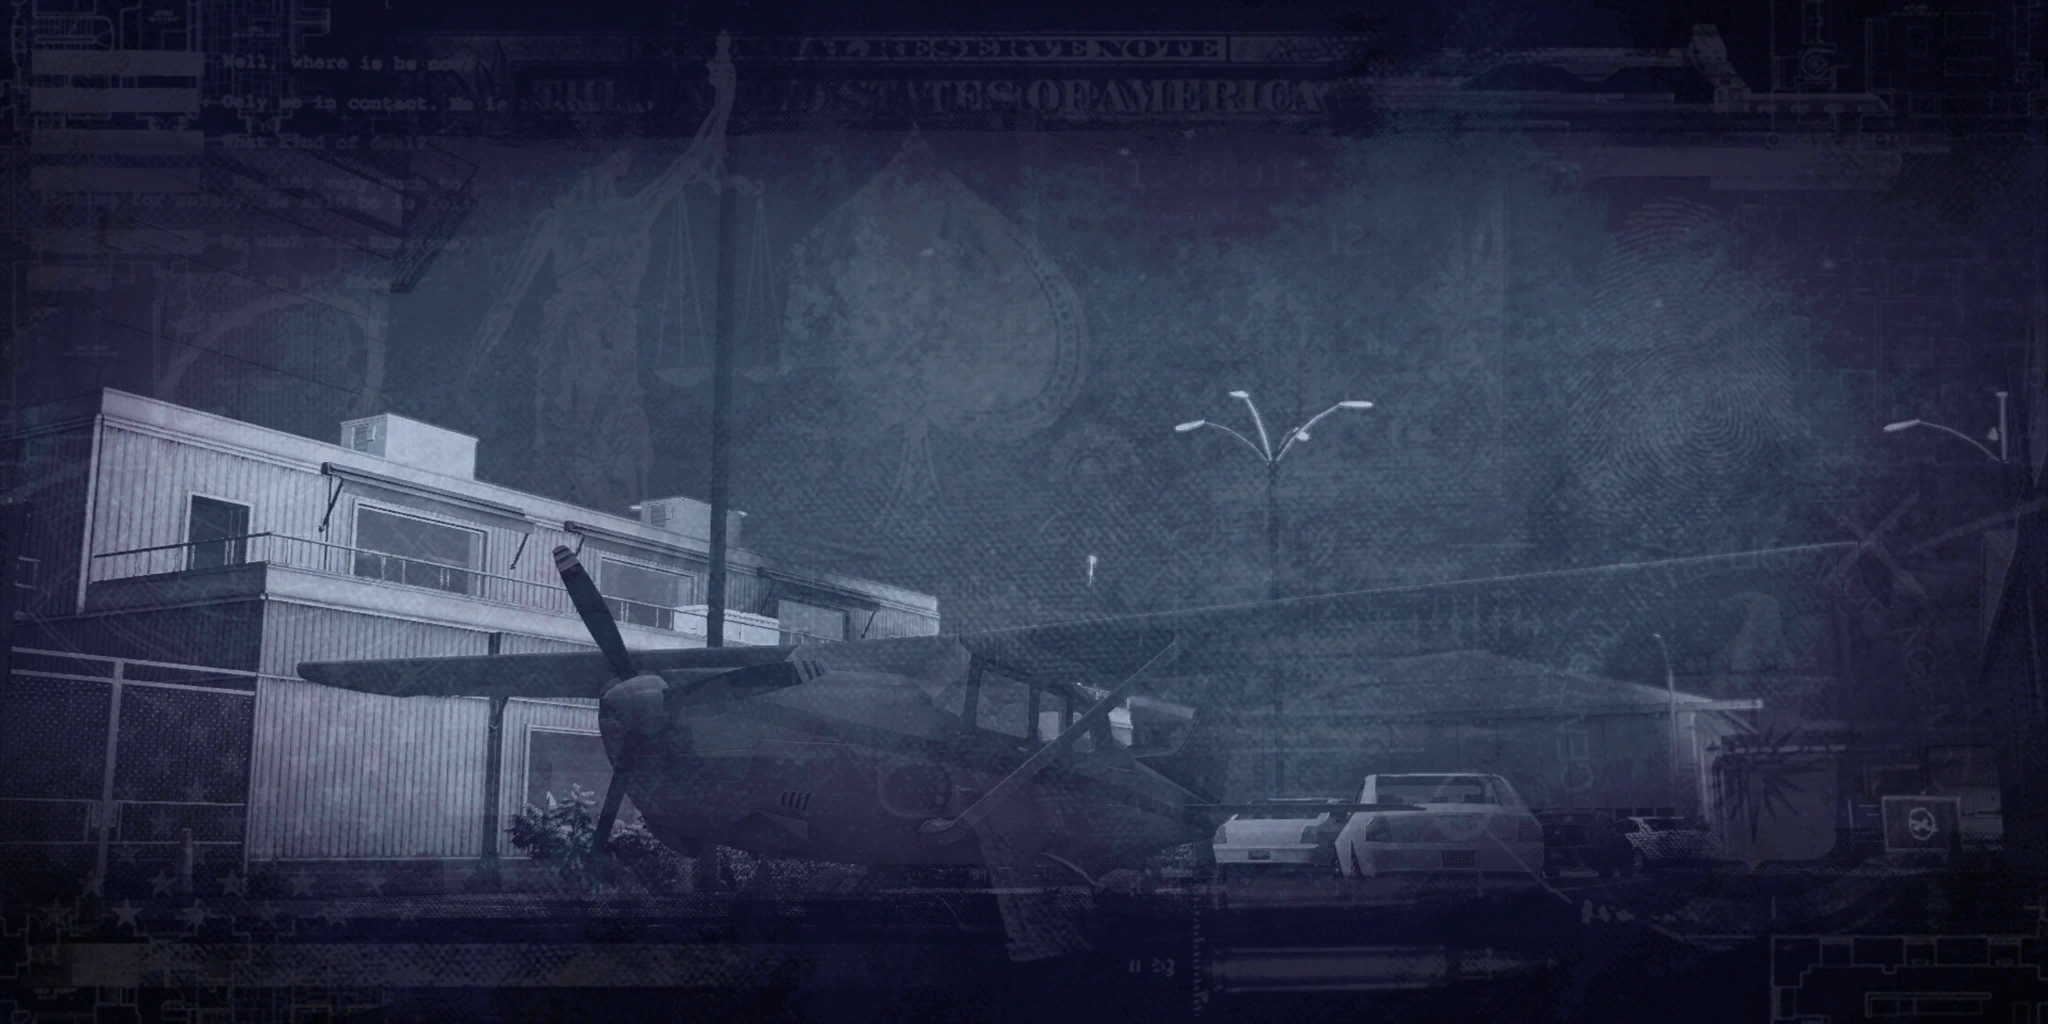
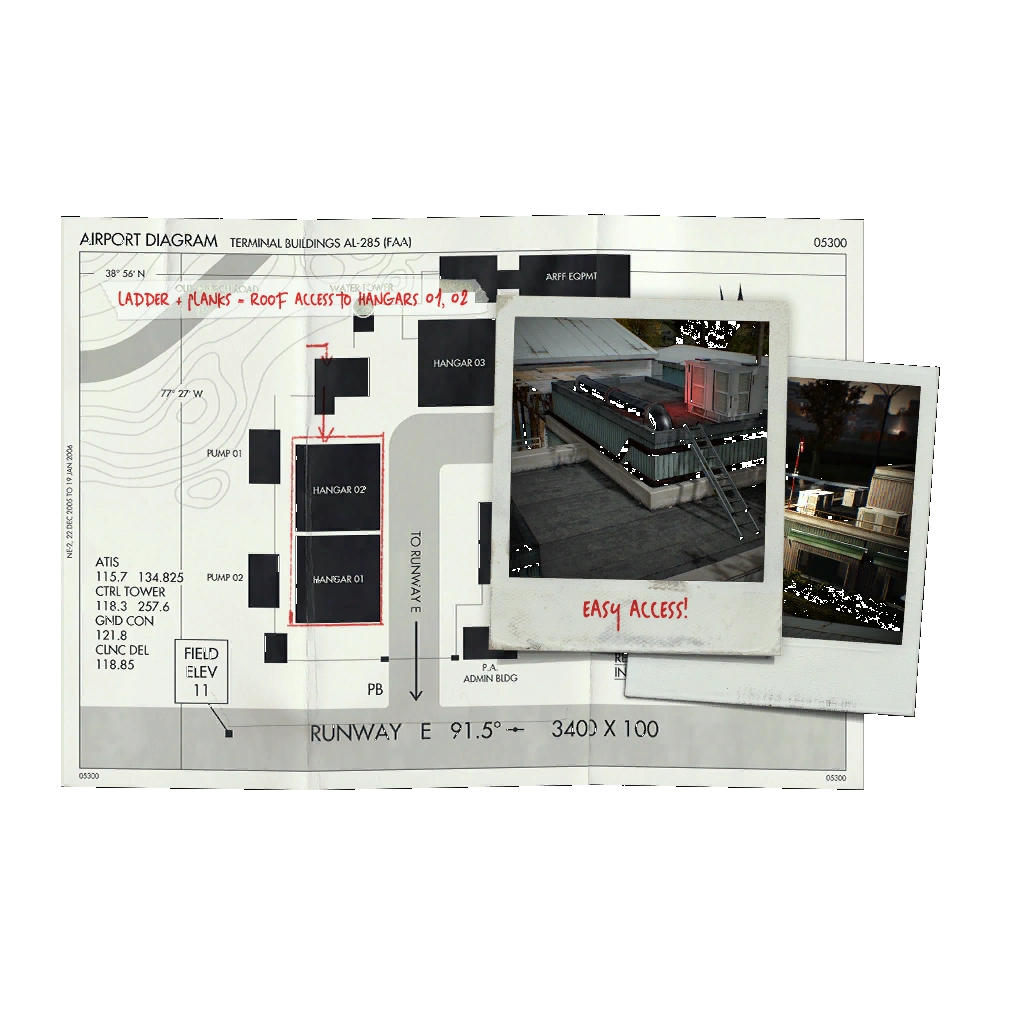
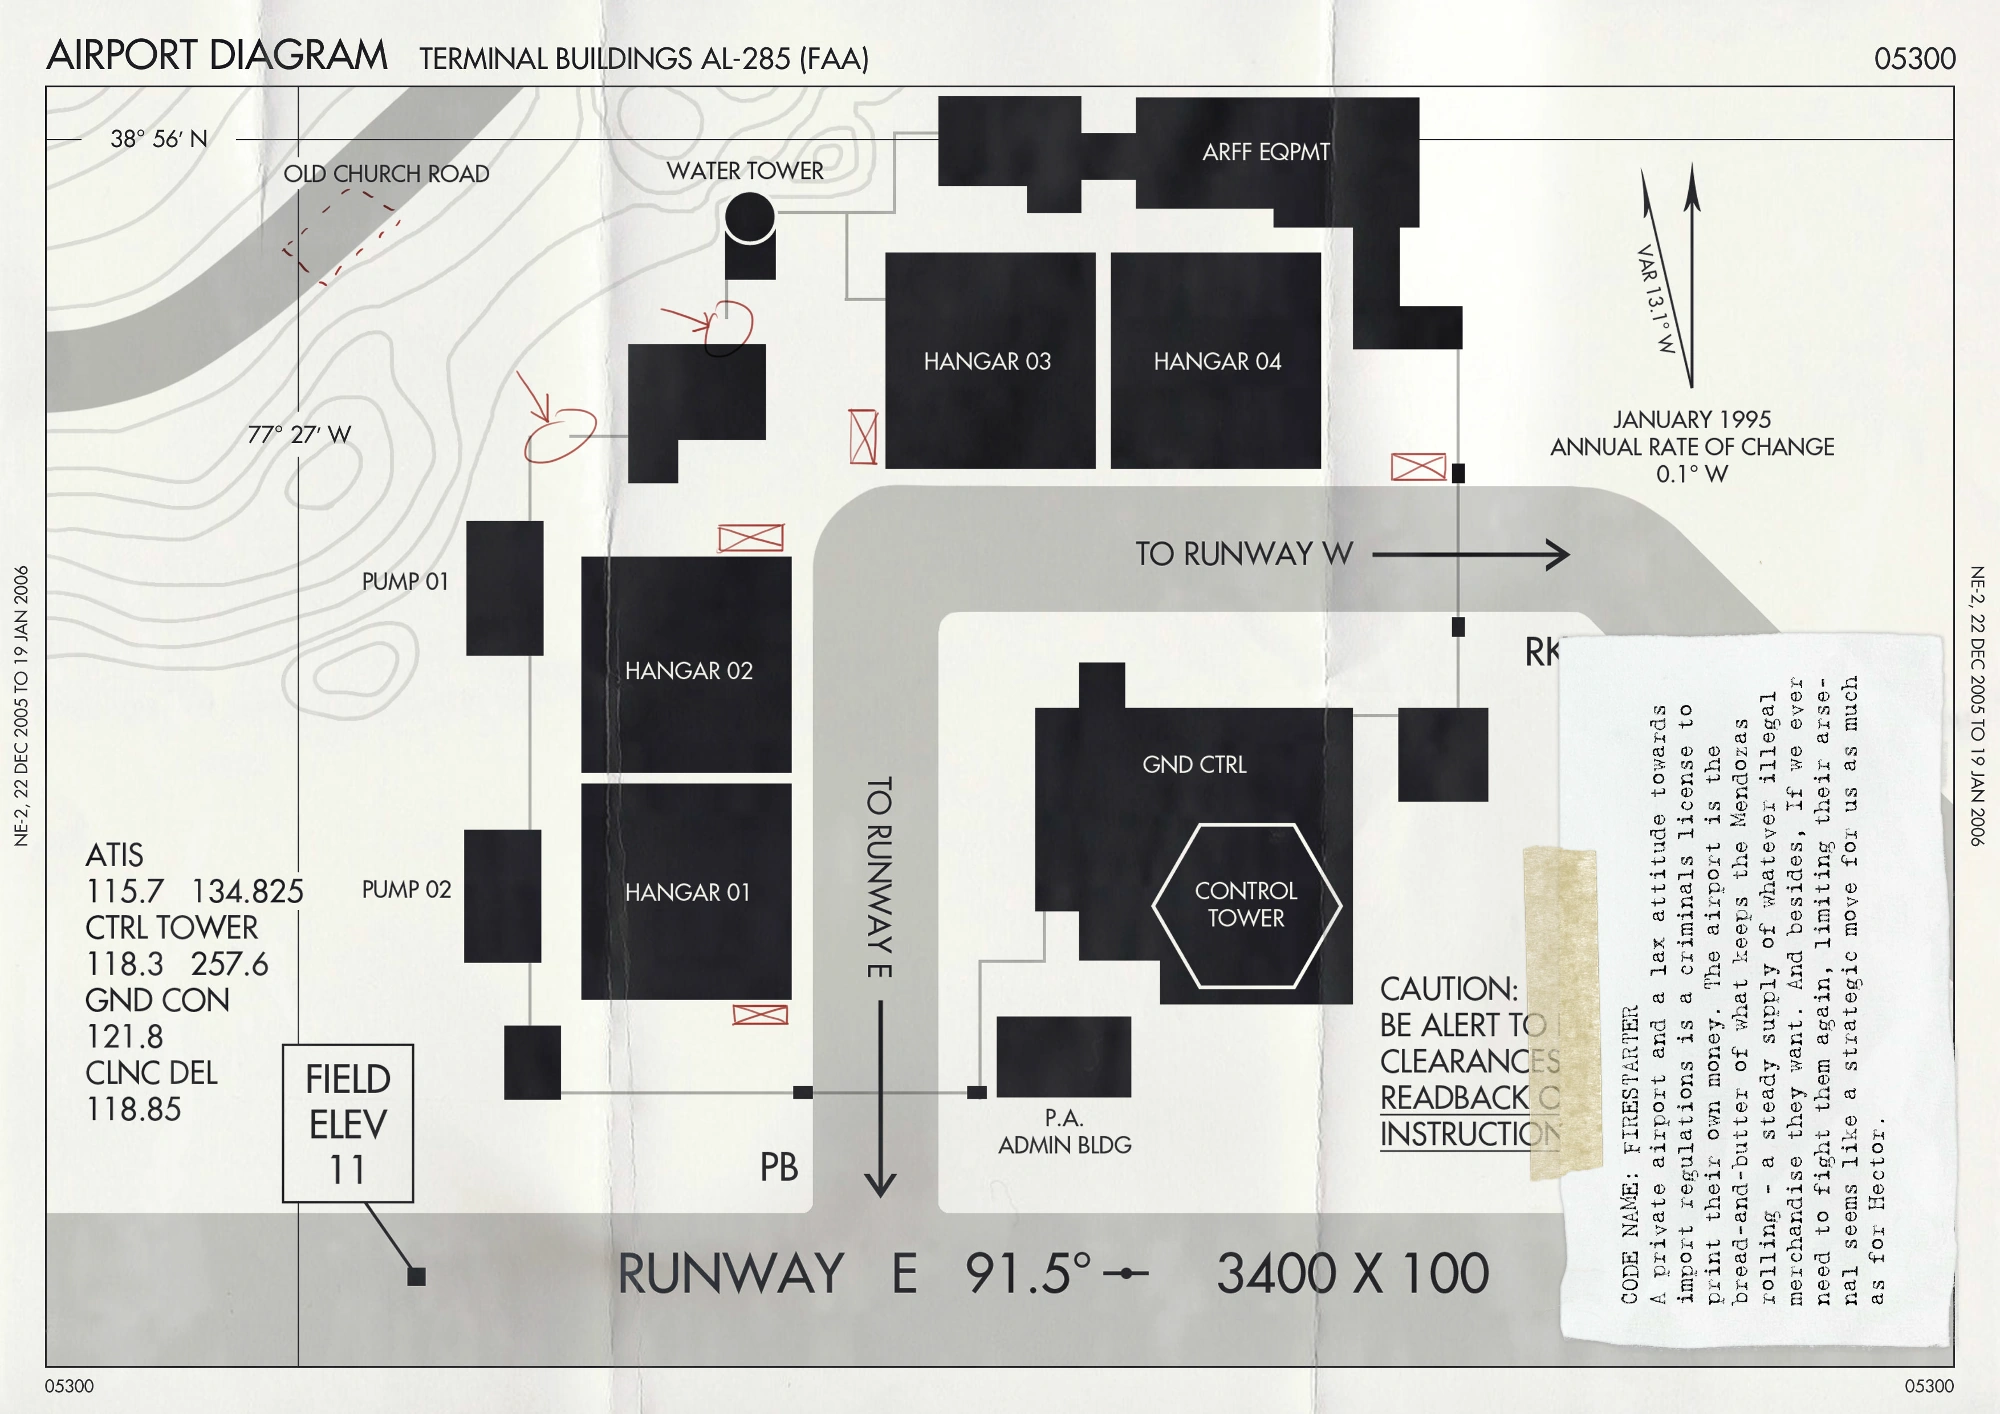
Firestarter is a three-day heist in PAYDAY 2, contracted by Hector. The goal is to cripple the arsenal and finances of a rival gang, The Mendoza Cartel. The crew must steal or destroy the weapons inside a hangar on Day 1, steal a server from an FBI office on Day 2, and burn cash inside a bank vault on Day 3.
Day 1 (Airport)
Objectives
- Locate the open hangar containing the weapons.
- Steal or destroy the required amount of weapons.
- (Optional) Steal or destroy the remaining weapons.
- Escape.
Assets
Purchasable
| |
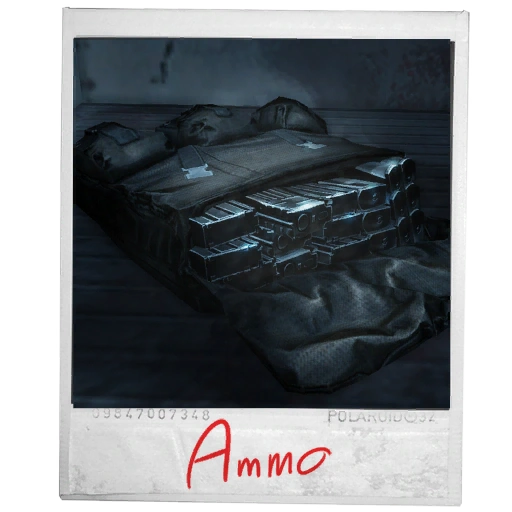
| Ammo Bag | |
|---|---|
| Price: | $6,000 (Normal) $9,000 (Hard) $12,000 (Very Hard) $18,000 (Overkill) $30,000 (Mayhem) $42,000 (Death Wish) $54,000 (Death Sentence) |
| |
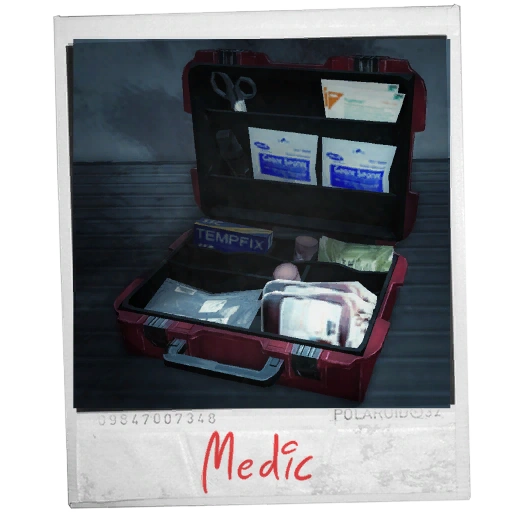
| Doctor Bag | |
|---|---|
| Price: | $6,000 (Normal) $9,000 (Hard) $12,000 (Very Hard) $18,000 (Overkill) $30,000 (Mayhem) $42,000 (Death Wish) $54,000 (Death Sentence) |
| |
| Vantage point | |
|---|---|
| Price: | $7,000 (Normal) $10,500 (Hard) $14,000 (Very Hard) $21,000 (Overkill) $35,000 (Mayhem) $49,000 (Death Wish) $63,000 (Death Sentence) |
| Requires the Gage Sniper Pack DLC to unlock | |
| |
| Grenade Case | |
|---|---|
| Price: | $3,000 (Normal) $4,500 (Hard) $6,000 (Very Hard) $9,000 (Overkill) $15,000 (Mayhem) $21,000 (Death Wish) $27,000 (Death Sentence) |
| Requires the Gage Weapon Pack #01 DLC to unlock | |
| |
| Body Bags | |
|---|---|
| Price: | $7,000 (Normal) $10,500 (Hard) $14,000 (Very Hard) $21,000 (Overkill) $35,000 (Mayhem) $49,000 (Death Wish) $63,000 (Death Sentence) |
| Requires the Sixth Sense Aced skill to unlock | |
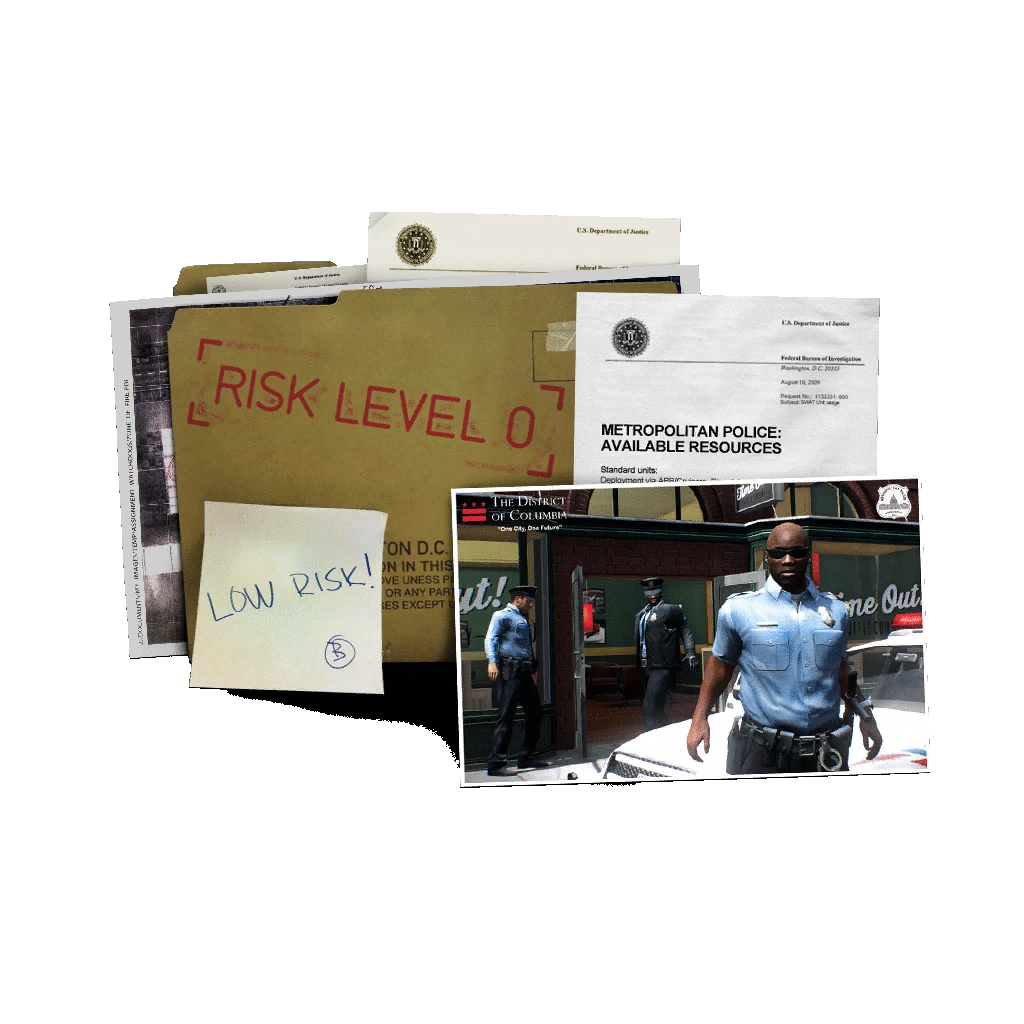
Intel
| |
| Day 1 Map (Bain's Guide) | |
|---|---|
| |
| Risk Level | |
|---|---|
| |
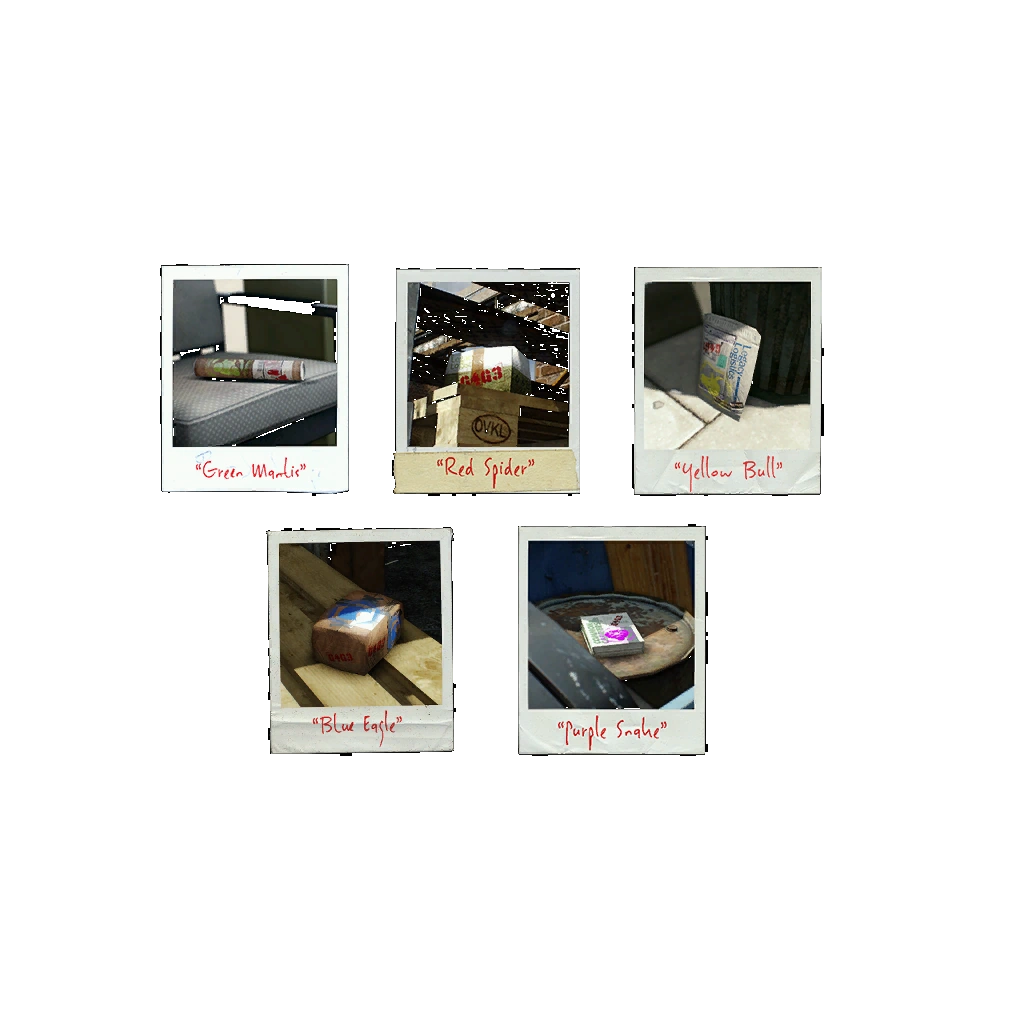
| Gage Courier Packages | |
|---|---|
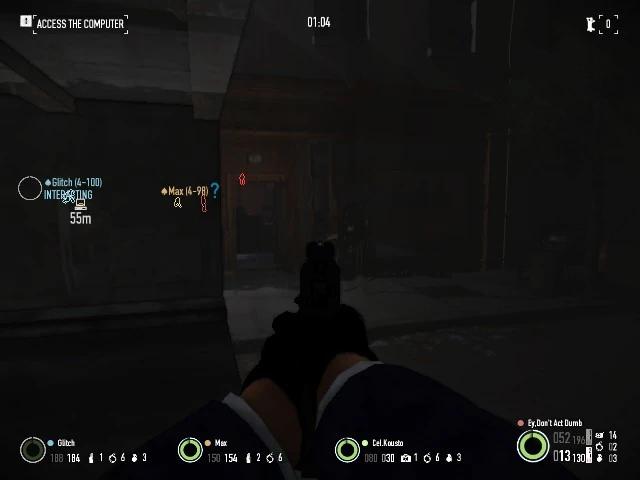
Walkthrough
The crew starts outside of an airfield controlled by the Mendoza Cartel. There are four hangars, and the only one that is open contains all of the weapon cases (two open hangars on Mayhem or above). The weapons inside each case can either be stolen or destroyed. Inside the hangar are two trucks which contain weapons; they can be opened from the back with a drill, a saw or C4. Access to the weapons inside the truck is usually not necessary to complete the day, as sufficient cases will be present outside of trucks. However, if you have decided to steal the weapons, it is worth opening the trucks to get all the loot. Be aware of the fact that a hangar will sometimes have an accessible stairway at the back that goes up to a 2nd floor loft that will contain several weapon cases.
Originally, Day 1 was not intended to be completed in stealth and lacked a stealth icon and bonus, but could be completed in stealth as long as no patrolling Mendozas were alerted, which would cause the alarm to trigger even after immediately. As of Update #246 however, Day 1 was overhauled to make stealth easier and more rewarding with the addition of a camera room, allowing most dumpsters to be opened, a body bag case asset, changing the loud trigger to be any loud gun fire (similar to Counterfeit), and give a 10% stealth completion bonus for completing the Day in stealth. Despite the changes made however, completing Day 1 in stealth is still difficult given how the Mendozas like to bunch or be stationary and chat, how open the runway to easily get spotted or have a body be found from a far distance, and any gun fire from the Mendozas (or any source that isn't supressed) will always cause the Day to go loud, regardless if ECM's are active (In comparison to Big Oil Day 1. ECM's will still block out the Mendozas's phones to sound the alarm.)
The safest place to eliminate patrolling Mendozas is in the back alley behind the hangars, as most of the patrollers will venture down there at one point or another. Beware of any cameras placed high on the hangars exterior walls, including those in the back alleys. Consider taking out the camera operator if they're too much of a hinderance. If playing below Mayhem, it is safe to destroy all the cameras, as the gang will not be alerted by broken cameras. The walls of the hangers can not be penetrated through, so heisters will need to either enter or have a clear line of site inside the hanger to take out the Mendozas inside.
It is worth mentioning that as of Update #25.1 it is recommended that at least 2 - 3 of your crew members has 2 body bags each to hide the bodies. On Mayhem and above, the sheer amount of Mendozas means it may be wise to bring 2 heisters with 2 Body Bag Case deployables on top of their starting bags. In addition, Titan Cameras may be placed in very inconvenient locations for the elimination process. Because of this, bringing a suppressed, high DPS shotgun is very useful, as the groups of static Mendozas can usually be launched out of sight of any cameras. While the gang will be alerted to any body bags they come across, they will ignore any weapon bags, even when in plain sight of them. They will also path to drills placed without Hardware Expert, but will be treated under their respective AI (e.g. a static Mendoza moves toward a nearby drill and becomes alert; the cops won't come unless he places a call).
In light of the recent revamp of skills, it is now possible to bring two deployable types using Jack Of All Trades from Technician. This is especially useful to solo stealthers, as it allows the player to bring trip mines to assist with spotting Mendozas, and Body Bags to bag the dead gangsters.
If the police are alerted, then they will arrive very quickly. Some will enter from the back alleys, but most of them will climb either of the two chain-link fences across from the hangars.
- If you wish to steal weapons, then you must carry them back to the van where you started. Each case is heavy, but they are very valuable.
- If you wish to destroy weapons, then you must locate the tank of jet fuel, which is randomly placed next to one of the hangars. Shoot the tank from at least a few meters away until it explodes, however if you have two very low-capacity weapons, a well-placed grenade will suffice. The weapons can be thrown into the burning fuel, but try to avoid damage from the explosions that occur when a case is destroyed.
Unlike other heists, the camping spot of Captain Winters and his minions is extremely close to the escape van, to the point they can easily barrage nearby players as they try to secure the weapons or even try to escape. It is strongly advised to either quickly secure the loot, destroy them and not be burdened with the heavy loot, or deal with Winters and his men. Notably, even if Winters is driven off, his surviving men can potentially block the cut sections of the fence and cause issues.
In Update #154, the interior of the building in the corner of the map opposite of the starting point was opened up to players. Alongside the briefcase required for a Side Job, there is a safe on a counter that can be drilled, lockpicked, or blown open, and inside is a bag of money, picking it up alerts the cops, even if there's no mendoza left alive.
Day 2 (FBI Server)
Objectives
The objectives for this mission can follow a simple branching path.
- Locate the server room.
- (Stealth) Hack the computer.
- (Stealth) Cut the wires.
- Break into the server room.
- Break through the inner door.
- (Combat) Drill through the server protection shutters if the alarm activated before cutting the wires.
- Take the server to the van.
- Escape.
Assets
Purchasable
| |
| Camera Feed | |
|---|---|
| Price: | $11,000 (Normal) $16,500 (Hard) $22,000 (Very Hard) $33,000 (Overkill) $55,000 (Mayhem) $77,000 (Death Wish) $99,000 (Death Sentence) |
|
| |
| Body Bags | |
|---|---|
| Price: | $7,000 (Normal) $10,500 (Hard) $14,000 (Very Hard) $21,000 (Overkill) $35,000 (Mayhem) $49,000 (Death Wish) $63,000 (Death Sentence) |
| Requires the Sixth Sense Aced skill to unlock | |

| |
| Spotter | |
|---|---|
| Price: | $13,000 (Normal) $19,500 (Hard) $26,000 (Very Hard) $39,000 (Overkill) $65,000 (Mayhem) $91,000 (Death Wish) $117,000 (Death Sentence) |
| Requires the Sixth Sense Aced Skill to unlock | |
|
| |
| Grenade Case | |
|---|---|
| Price: | $3,000 (Normal) $4,500 (Hard) $6,000 (Very Hard) $9,000 (Overkill) $15,000 (Mayhem) $21,000 (Death Wish) $27,000 (Death Sentence) |
| Requires the Gage Weapon Pack #01 DLC to unlock | |
Intel
| |
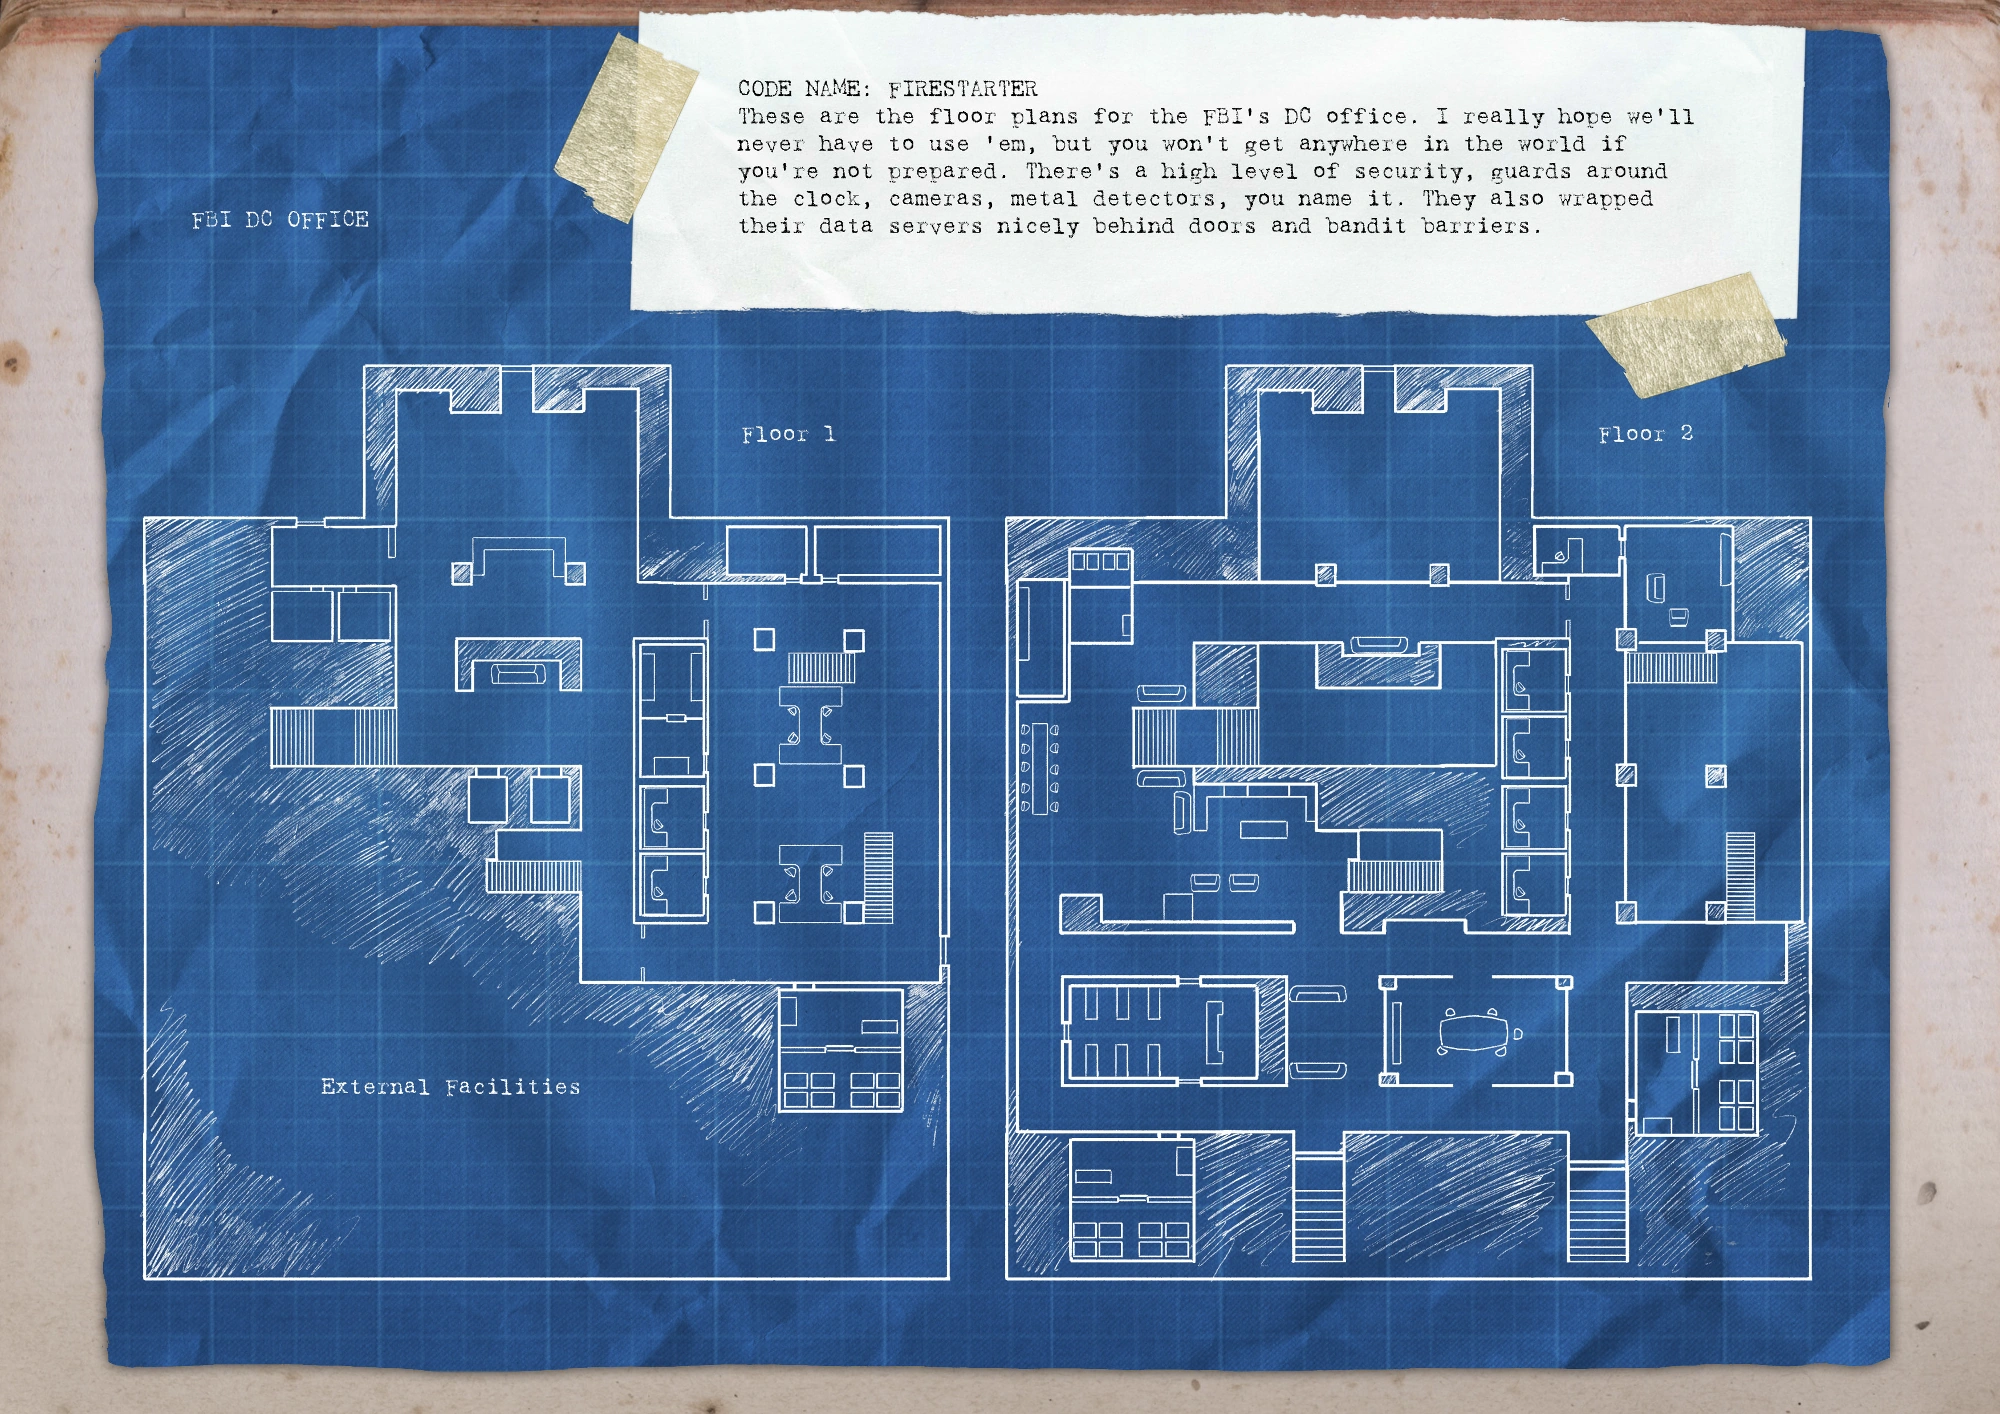
| Day 2 Blueprint (Bain's Guide) | |
|---|---|
|
| |
| Risk Level | |
|---|---|
|
| |
| Gage Courier Packages | |
|---|---|
Walkthrough
The FBI branch office is a medium-sized, two-story office building with about a dozen offices, an operations center, an evidence room - potentially loaded with confiscated loot - and a server room containing a server on which the whereabouts of the Mendoza Cartel's dirty money can be found.
There are 4 possible locations for the server room:
- The rear wall of the main office area (diagonally opposite the evidence room)
- The second floor conference area next to the conference room
- The second floor conference area across the hall from the operations center
- The second floor, across from the cafeteria (above the main lobby to the right)
Combat walkthrough
Once inside, you must locate the server room.
Upon picking the lock to the outer door, you must break through the second door inside the room itself. It is important to note that having ECM Overdrive aced, Shaped Charges, or an OVE9000 saw are the only surefire way to avoid drilling the door open. There is occasionally a safe in the station chief's office which contains a keycard to open the inside door, but the safe spawn is uncommon. If the safe doesn't spawn, one of the guards may have the card. Finally, you must drill open the barrier protecting the server. Be ready for a good fight, as this will take a few minutes.
Internally, the layout of the office can be partially compared to Plan C of Election Day, with lots of long hallways and little partial cover, only doorways and offices to duck into, with many corners. Players taking cover in the server room itself should be especially careful, as the server room ceiling always has a ceiling vent somewhere - a Cloaker can easily drop down and incapacitate a member of the team. There are several other vents throughout the upper level office area as well.
Once you're through the barrier, you may remove and bag the server without further ado. The server itself weighs you down as much as a bag of gold, so keep that in mind when trying to escape in a hurry.
Optional Step: The previously mentioned evidence room can contain some extremely valuable loot - or possibly nothing at all. If you wish to loot that as well, it is recommended that someone on your team bring a saw or shaped charges. It is best to ignore the server and take the loot over to the van as the alarm is triggered - before the police arrive. Doing this will leave you only with the server to worry about getting across the road.
Stealth walkthrough
There are more than five guards and possibly as many as eleven – a stealthy attempt will require that the players simply avoid the guards whenever possible.
The first step is breaking in, which can be accomplished via one of two doors to the main lobby or a side entrance which leads into the main office area. These may all be picked - or shot open if you are in a hurry. Despite Bain's misgivings, either entrance can be advantageous; It really matters where the highest concentration of guards are at any given time. Be careful to check security camera locations and angles before entering the building.
Once inside, you must locate the server room.
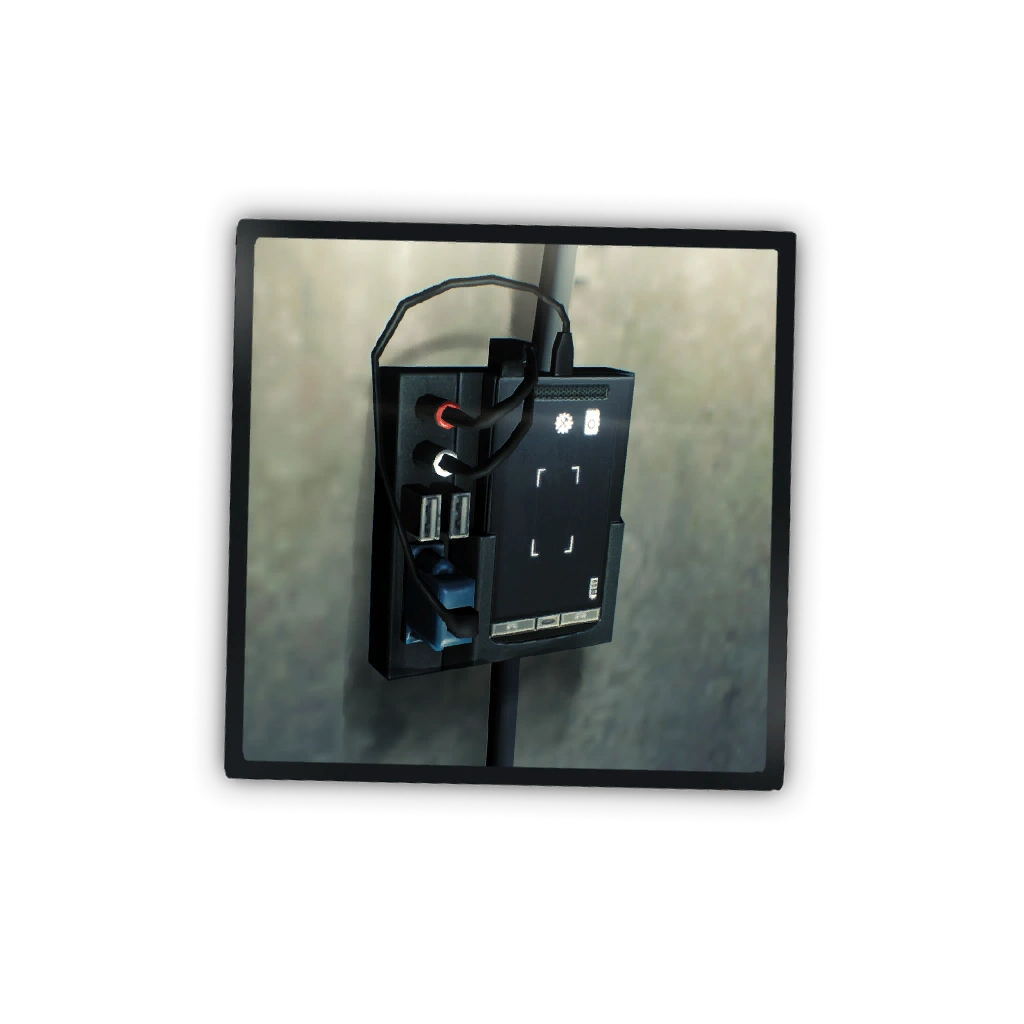
In the next phase, Bain will tell you where to go to access a computer which he can hack to reveal the proper wire boxes to sabotage so that the alarms don't go off when you pick your way into the server room. Interestingly enough, cutting the wires in these boxes will also prevent the server barrier from engaging even if the alarm is set off by a guard, pager or camera; this allows at least part of the heist to be completed in stealth. The computer will be one of at least half a dozen possible candidates, which may occur in the station chief's office, one of several offices on the first or second floor of the main work area, or one of several computers in the operations center on the second floor. Once you've gotten Bain in, he will indicate two of the many boxes - the exact number of them depends on the difficulty level and can be as high as five. When disabling the alarm circuit boxes, be aware that disabling the wrong one will immediately trigger the alarm and close off the server from easy access - the barrier that comes down can only be drilled open. Beware, each box may be directly in the visual range of a security camera, and cameras and guards alike will be alerted upon noticing an opened wire box. Therefore, it is imperative to open the box, cut the wire and close it again as quickly as possible when the opportunity presents itself, possibly with the help of an ECM jammer if necessary. It is possible to guess at the proper boxes to disable - without first giving Bain access to a computer, but doing so is extremely risky on overkill; Only a ten percent chance. That should be avoided unless going for the achievement (Guessing Game), in which case you should probably be doing it on normal difficulty.
Finally, once the server room door alarm has been disabled, you must break through the final door inside the room itself. It is important to note that having ECM Overdrive aced is the only surefire way to avoid drilling the door open. There is occasionally a safe in the station chief's office which contains a keycard to open the inside door, but the safe spawn is uncommon. If the safe doesn't spawn, one of the guards may have the card. Since killing the guards is already a dubious prospect, it is better simply to come prepared with the properly skilled Shinobi, and/or having Hardware Expert.
Once you're through the door, you may remove and bag the server without any trouble. The server itself weighs you down as much as a bag of gold, so keep that in mind when trying to escape in a hurry.
Optional Step: The previously mentioned evidence room can contain some loot (money, coke, or guns)- or possibly nothing at all. If you wish to loot that as well during stealth then the evidence room can be silently drilled open, but there is still a slim chance the drill may be seen by passing guards if they walk close to the evidence room.
Important notes
- There are often some actual FBI agents loitering about the office, easily distinguishable by their casual attire and tendency to stand in one place. Like any other law enforcers, they can instantly ruin a stealth attempt if they notice you. However, they can also be killed without setting off a pager and safely removed if the coast is clear.
- The evidence locker is always in the same place, but the loot present, if any, will vary. Several Gage Mod Courier packages may also spawn inside the room, so it is usually worth a check. Note that unlike loot bags, Courier packages usually spawn near the entrance and can be picked up through the locked gate; only those placed on the back shelves will require the gate being opened to collect.
- If there is a camera in the station chief's office, it can be shot without any guards coming to check on it. This allows the room to be used as a convenient place to hide bodies. Note that every now and then, a camera on the outside of the office will see the camera get shot out.
- Any of the side entrances could have a camera placed outside looking at them. If you simply must enter through such a door, it is highly recommended to use an ECM Jammer or quickly shoot the door open with a silenced weapon, because shooting the camera will cause a guard to come investigate it. The bathroom entrance usually has a camera facing it on the inside, whilst the back 'left' entrance most often has the camera overlooking the door from outside in a position where any guard standing near the door will be able to see what state the camera is in.
- It is a good idea not to have alarm boxes open longer than necessary, as guards can spot open boxes from surprisingly long distances away. Always close a box immediately after the wire inside is cut.
Strategy
Stealth
- In the event of a safe spawning in the office, pick the lock or riskily silently drill this safe before advancing the objective, should you need to cover your escape with ECMs. Especially useful if you neglected to ace the "ECM Overdrive" skill.
- Never shoot cameras. If a camera is looking at a circuit box or the server room door you need to pick, either loop the camera or use an ECM jammer. As well as having a guard come to investigate, the guards patrol patterns ensure they will come across the camera sooner rather than later.
Loud
- When using Shaped Charges, it is a lot more preferable to blow the safe in the station chief's office and gain a keycard for the security door using one shaped charge than it is to use three charges on the security door.
- Sheltering inside the server room is strongly recommended, as there isn't actually anything outside of the server room to do, and the bulletproof glass provides great cover. The only real threat from within is a vent access on the ceiling in which a Cloaker may jump down from.
- A cloaker will almost always spawn underneath the taxi closest to the FBI office and behind a wall near the escape van.
- Loot in the evidence room should not be paramount, but consider moving heavy valuables out in between assaults.
- Although the server room door location may vary between four different locations, enemies will approach from the same spawns each time:
- If the door is located under the stairs directly next to the side entrance, enemies will funnel down the side entrance and enter through broken windows along that side, as well as coming through both bottom-stairs doorways on the left side.
- A server room door on the second floor closest to the side entrance will force enemies to come from the side entrance and funnel up the stairs, as well as occasionally approaching from the far end of the building. Enemies (including specials) will also rappel in from the side windows.
- A second floor server door closest to the main entrance compels enemies to come through the front entrance and up the long stairway near there, or from the kitchen area close to it.
- If the server room is in the conference area, enemies will funnel in the hallways opposite the offices and the other passageways surrounding the door, however in fewer numbers than the other spawns.
Day 3 (Trustee Bank)
Objectives
- Shut off the power to the electrified vault
- Move the thermal drill to the vault door
- Start the drill (360 seconds)
- Break into the second vault door (random)
- Set up the camera in the vault
- Light money stash on fire
- Loot the deposit boxes (Optional)
- Get the recording
- Escape
Pre-Planning
| v·d·e PrePlanning: Bank Heist & Firestarter Day 3 | ||||||||||
|---|---|---|---|---|---|---|---|---|---|---|
| Assets | Asset Costs | Favors | ||||||||
| Type | Name | Normal | Hard | Very Hard | Overkill | Death Wish | 8P | Loc | Max | |
| Mission Critical | ||||||||||
| Safe Cracking Plan | Thermal Drill | Free | 0 | 3 | 1 | |||||
| Mission Beneficial | ||||||||||
| Dead Drop | Doctor Bag | $1,600 | $3,200 | $8,000 | $16,000 | $20,800 | 2 | 4 | 2 | |
| Ammo Bag | $1,600 | $3,200 | $8,000 | $16,000 | $20,800 | 2 | 3 | 2 | ||
| Grenades | $1,600 | $3,200 | $8,000 | $16,000 | $20,800 | 2 | 4 | 2 | ||
| Body Bags | $1,600 | $3,200 | $8,000 | $16,000 | $20,800 | 2 | 4 | 2 | ||
| Surveillance | Camera Access | $1,000 | $2,000 | $5,000 | $10,000 | $13,000 | 2 | 2 | 1 | |
| Spycam | $1,000 | $2,000 | $5,000 | $10,000 | $13,000 | 2 | 3 | ? | ||
| Additional Cameras | $500 | $1,000 | $2,500 | $5,000 | $6,500 | 1 | 2 | 2 | ||
| Hacking | Silent Alarm 20s. delay | $1,000 | $2,000 | $5,000 | $10,000 | $13,000 | 1 | 1 | 1 | |
| Insider help | Keycard | $2,000 | $4,000 | $10,000 | $20,000 | $26,000 | 2 | 2 | 1 | |
| Expert Driver | $2,000 | $4,000 | $10,000 | $20,000 | $26,000 | 3 | 1 | 1 | ||
| Backup | Vantage point | $2,000 | $4,000 | $10,000 | $20,000 | $26,000 | 3 | 1 | 1 | |
| Additional mission equipment |
Vault key | $3,000 | $6,000 | $15,000 | $30,000 | $39,000 | 3 | ? | 1 | |
Walkthrough
Day 3 takes place on a map that is identical to Bank Heist in many ways, with a few differences in the heist itself. Notably, the vault door is initially electrified, and prevents players from setting up the thermal drill. Any attempts to do so are punished with a taser-like effect that immobilizes the heister and causes them to inadvertently shoot for several seconds, which can alert NPCs if the victim is not wielding a silenced firearm. In order to disable the electrical defenses, the crew must breach a security door on the roof (which exists only on Firestarter Day 3, not on any version of Bank Heist), next to the stairwell. A keycard, which is located either on the bank manager, his desk, or bought via preplanning, can be used to quickly open it without any skills. However, the option to open it with a keycard should only be done if a Titan camera is overlooking the roof and the camera operator cannot be reached or if the heist goes loud. It is recommended to place a "noisy" drill on the door which can attract patrolling guards and thus, they can be eliminated without too much trouble. This can be harder to implement if a skylight has spawned.
Once through, interact with the circuit breaker inside, then start the thermal drill. Once the vault door is open, the inner cage door in the vault may be locked and must also be opened with a drill, keychain that was bought from preplanning, Shaped Charges or the OVE9000 saw. Once inside the vault, the crew must set up the camera and ignite the stack of cash. While the money burns, the crew may decide to open the deposit boxes for some extra loot. After 90 seconds of burning, the crew must take the camera and escape in the van.
Gage Mod Courier Packages


Mayhem+ Changes
All cameras are replaced with Titan variants.
Day 1:
- There are two hangars open, instead of just one, and twice the number of Cartel members. You must steal or destroy at least 8 bags of weapons.
Day 2:
- Two servers must be secured instead of one.
Day 3:
- There are always three skylights on the roof of the bank, allowing civilians and guards to spot heisters and bodies there if they are not careful.
The FBI Files
This appears to be aimed squarely at the interests of the Mendoza cartel. A private airfield that was owned by a holding company, a raid on our own regional offices and the destruction of a large cache of currency at a Harvest and Trustee Bank.
My Notes: Bain and Crime.Net are all over this but I suspect it is a contract job. The Sinaloan cartel have been warring with the Mendozas for years. Are the Sinaloans linked with Bain?
Bugs
- If the team chooses to destroy the weapons in stealth after all guards are killed (thus no one can alert the cops) the explosion will trigger a police helicopter to drop off 8 Maximum Force Responders in front of the fence used to get to the airfield. When this happens the 8 police units will stand motionless where they were dropped off and act like guards (i.e being able to call the cops, get alerted by lootbags, etc.) but are not able to be spotted and if killed will not require a pager answer. As well as that, if the cops are alerted and line of sight is maintained (thus not allowing them to call the other cops) the heist will not immediately go into loud.
- Additionally, this can make escaping immensely harder especially if you or your team choose to bring low damage weapons, as they stand in front of the fence you need to get through in order to escape.
- Due to incorrect (or missing) checks for loot type, the moneybag introduced in #Update #154 (Again) will count for the required amount of bags if exploded or towards the maximum amount of loot needed securing for the Lord of War achievement (and subsequent Bain line about cleaning the hangars out) or all loot experience bonus.
- If 11 bags spawn on Mayhem or higher you cannot get the 6000XP for securing all weapons unless you also secure this moneybag.
- When taking the goat to the escape van on Day 2, the doors of the vehicle will not open, thus the goat cannot be secured until other loot bags or the server are grabbed.
Achievements & Trophies

|
Hector's Heroes Complete the Firestarter job on the Normal difficulty or above. |

|
Playing With Matches Complete the Firestarter job on the Hard difficulty or above. |

|
Flame War Complete the Firestarter job on the Very Hard difficulty or above. |

|
A Burning Love for Loot Complete the Firestarter job on the OVERKILL difficulty or above. |

|
The Fat of the Land Complete the Firestarter job on the Mayhem difficulty or above. |

|
I'm a Firestarter Complete the Firestarter job on the Death Wish difficulty or above. |

|
Some People Want to See the World Burn Complete the Firestarter job on the Death Sentence difficulty. |

|
Got Money to Burn Complete the Firestarter job on the Death Sentence difficulty with the One Down mechanic activated. |

|
For Daisy Finish the Firestarter job on the OVERKILL difficulty or above with your crew only using the Contractor pistol. Unlocks the "Daisy" mask, "Dog Fur" material and "Daisies" pattern. This achievement, along with many others, was accidentally unlocked for players who hadn't actually completed the heist with the needed requirements on with the Difficulties & Sniper Beta 1.3 update. |

|
Guessing Game On day 2 of the Firestarter job, complete the heist in stealth without hacking the computer. |

|
Here Comes the Pain Train In the Firestarter job, complete the heist on OVERKILL difficulty or above, with all days done in loud and with a crew of 4 players using unmodified "AK Rifle" rifles and "PARA" submachine guns. Unlocks the "DMR Kit AK.762" and the "Low Drag Magazine" for the AK weapon family, "Timothy" mask, "Prehistorical" material and "Dinosaur Stripes" pattern. |

|
It's Getting Hot in Here In the Firestarter job, complete day 3 with you and your crew staying inside the vault while all of the money burns out on the Death Wish difficulty or above. |

|
Lord of War On day 1 of the Firestarter job, steal all the weapons from the hangar. |

|
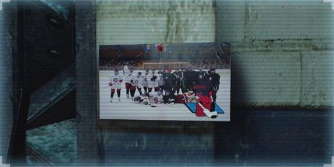
The First Line On day 3 of the Firestarter job, find the rare hockey poster of the OVERKILL hockey team. |

|
Wasteful In the Firestarter job, complete day one having burned all weapons on the Death Wish difficulty or above. |

|
You Can Run, but Not Hide Find and secure the goat in the Firestarter heist on the OVERKILL difficulty or above. From January 27, 2016, to June 2, 2016, awarded one Goat safe and drill. |

|
Saint Francis Complete the Bank Heist job after finding the 2 punks in the parking lot and bringing them next to the van, without letting them get away or die on the OVERKILL difficulty or above. Can also be done on Firestarter Day 3. |
The following achievement was removed on October 5, 2016.

|
Into the Lion’s Den Complete the Firestarter pro job on the Death Wish difficulty. |
|
|
Guessing Game On day 2 of the Firestarter job, complete the heist in stealth without hacking the computer. |
Play on Normal difficulty so that there are only three to four boxes to choose from, as opposed to four to five. Because the two correct wires are randomized, the probability of correctly guessing which two wires to cut is ~33.3% if there are three boxes, and ~16.7% if there are four. Because "in stealth" means "without the alarm being triggered" as opposed to "without being detected", there are several popular methods of unlocking the achievement.
Trivial approach
Sneak around the guards and stay undetected as you cut the wires and access the server room. It is advised that the crew has either ECM Overdrive or Hardware Expert because it is risky to use a loud drill on the inner door.
Brute-force ECM co-op
This approach is the fastest in general, but requires:
- Four players who have aced ECM Specialist to delay the pagers of any dead guards and the basic ECM Overdrive for increased ECM duration.
- One player with ECM Overdrive aced to open the inner door of the server room.
- One player with a Two-Piece Suit to move the server.
- Alternatively, the OVE9000 saw can be used to cut through the doors for faster access.
The player who aced ECM Overdrive must save one ECM jammer for the inner door, which leaves seven ECM jammers for delaying alarms and pagers. Because each upgraded jammer lasts approximately 30 seconds, the crew has up to 210 seconds (240 if the saw is equipped) between detection and the alarm trigger. Only one ECM jammer needs to be active at a time; to maximize the amount of time available, each jammer should be deployed just before the previous one expires. The crew may decide to start their ECM chain as soon as they enter the building for maximum speed, or once one or two wires are located to decrease the amount of searching required. Trip mines can also be used, however their lengthy deployment time can add up to over twenty seconds.
During this time, the crew must:
- Rush through the building.
- Locate the server room door.
- Find two wires and cut them.
- Breach the outer door of the server room.
- Open the inner door with the ECM Overdrive aced.
- Carry the server to the van (whoever has a Two-Piece Suit).
Silent Approach
This approach is possibly the hardest not only because of the large reliance on RNG but because you will not have a fallback plan in the case of a chain reaction (such as an ECM to jam cameras and pagers) or drill skills to lessen the chance of guards being alerted.
This requires:
- Nimble aced
The process involved is as follows:
- Enter through the side door
- Locate the FBI boss's office
- Silently eliminate the boss and bag his body
- Silently crack a safe that may spawn with a keycard inside
- Find the correct circuit boxes
- Pick the server room door
- Use a keycard at the security door
- Take the server and leave
Remember that if a safe is there, there will always be a keycard inside and the FBI boss will always be standing in front of it, behind his desk. Depending on how you kill and which weapon you use to kill the boss, most of the time the roaming guards will see the dead body. Guards never enter the office, but will stand in front of it for long periods of time. This should be the only guard you kill.
This approach is most helpful for low-level players. If a safe does not spawn, either risk drilling or restart immediately.
- Lord of War is a reference to the film of the same name, which is about an illegal arms dealer.
- The First Line is likely a reference to the first forward line in the game of Ice hockey.
- I'm a Firestarter is a reference to same line in the song "Firestarter" by The Prodigy. It was released on the album The Fat of the Land, the name of another achievement.
- Saint Francis is apparently a mission given by John Wick, with most of Bain's lines regarding the achievement referencing John Wick. Wick, from Bain's lines, wants the two punks required for the achievement to be brought to the Safe House so he can torture them, on the grounds of them having abused a dog, evidenced by the achievement icon and its Side Job description.
- If the punks are killed mid-heist, Bain will say that Wick will be disappointed that he couldn't take care of them himself, bizarrely even if John Wick is the one who killed them.
- Even though it's heavily implied that John Wick will torture and kill them after the heist and most if not all of the player characters and Bain show disgust for them, killing the two at the bank will impose the usual cleaner penalty and Bain yelling at the responsible crew member for not allowing Wick to do the deed himself.
")
- "A little souvenir that you picked up when raiding the FBI offices."
- —Trophy description
UNLOCK CONDITION:
Successfully complete Day 2 of the Firestarter heist in stealth.
PLACEMENT:
The living room.
")
- "Who are these people anyway?"
- —Trophy description.
UNLOCK CONDITION:
On Day 3 of the Firestarter job, find the rare poster of the OVERKILL hockey team.
PLACEMENT:
Sokol's Hockey Gym.
Trivia
The Jewelry Store reflection.
- The first day of Firestarter was originally a Vlad contract according to several unused (voiced) quotes and almost all debug lines.
- It is never clarified why the guns would explode, and violently so, when destroyed. When viewed in-game, the weapon cases contains two AK rifles which are made of mostly metal that would melt at most when burned. While one could argue that there are ammo inside the guns that exploded when tossed into the fire, it would be illogical to have the rifles loaded in the first place.
- Normally, firearms cased up for transport would be completely unloaded, either to prevent misfire due to heat buildup, or to relieve the magazines of spring fatigue. In the case of illegal gun dealers, this is also done to prevent their would-be buyers from simply using the same weapons to attack them.
- Day 3 of the Firestarter heist contains some similarities to The Dark Knight.
- The electrified vault may be a reference to the bank robbery introduction, where one of Joker’s henchmen gets electrocuted when drilling the bank vault due to the vault itself being electrified. Similarly, both banks contain money belonging to illegal crime groups.
- The burning of the Mendozas’ money may be a reference to Joker burning the mob’s entire stash of money.
- Usually on Day 3, if gas occurs while the money is burning inside the vault, the vision clears up and the player will no longer be obstructed of their vision from the fire.
- Bain will often make an empathetic/sympathetic comment or will make a point when the heisters are about to set the money on fire. Examples of these include: "I know it's sad" and "Most of it is marked anyway." He sometimes even apologizes at the end of the heist.
- The same objective also presents a noticeable scientific inaccuracy. The heisters do not seem to suffer from any apparent danger when loitering about opening deposit boxes or just plainly standing still inside the vault when the money is burning; in an accurate enactment of the scenario the threat of convection would be very real, and the amount of heat generated can prove extremely harmful to anyone standing within or near the vault, especially so since most of its interior is made of metal, effectively turning it into a large oven when the money pile is set alight.
- In addition, there does not seem to be any manner of automatic fire extinguisher built into the bank to douse the fire when it is set. This would disqualify many safety checks and the branch in question will not be allowed to operate.
- The same objective also presents a noticeable scientific inaccuracy. The heisters do not seem to suffer from any apparent danger when loitering about opening deposit boxes or just plainly standing still inside the vault when the money is burning; in an accurate enactment of the scenario the threat of convection would be very real, and the amount of heat generated can prove extremely harmful to anyone standing within or near the vault, especially so since most of its interior is made of metal, effectively turning it into a large oven when the money pile is set alight.
- This is the only heist offered by Hector where it is possible to earn a stealth bonus, but even then the bonus is partial as only the second and third days are regarded as "true" stealth missions by the game engine. While the first day can be cleared silently with enough skill and luck, no additional benefits are gained by doing so.
- It's very easy to get the "Far Far Away" achievement on this heist, with the vantage point, if the far hangar on the left side of the spawning direction is the correct one.
- On Day 2, a very low-resolution map of Jewelry Store can be seen on the reflections of the walls near the escape van.
- Inside each circuit box is a small map of the Mercy Hospital from the "No Mercy" DLC for Payday: The Heist.
- Like laser beams and a 5th pager, ECMs will not delay an alarm activated by an incorrect cut of a server box.
- Similar to heists hosted by The Elephant, killing a 4th guard on Day 2 will trigger a new security guard to arrive to the area, check the place out, and then leave.
- Hector will occasionally cite the line "The Mendoza's are crippled, but not dead. We will see to that later.", a clear reference to the Rats job, that involves wiping out who Bain calls "the Mendoza top guys". This chronologically places Firestarter before Rats.
- The heist order on the FBI Files seem to verify this.
- The achievement names "The Fat of the Land" and "I'm a Firestarter" are a reference to the music album "The Fat of the Land" of "The Prodigy", where there's a track called "Firestarter" on it.
Gallery
")
| Misc. | Safe House (Laundromat Safe House) | |
| Game Modes | Crime Spree • Holdout | |